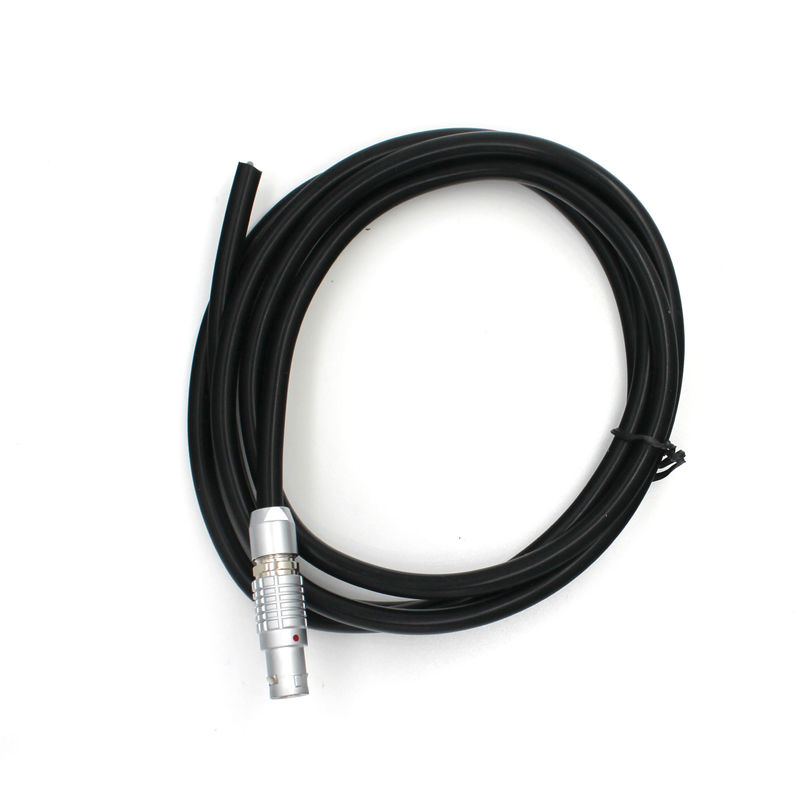
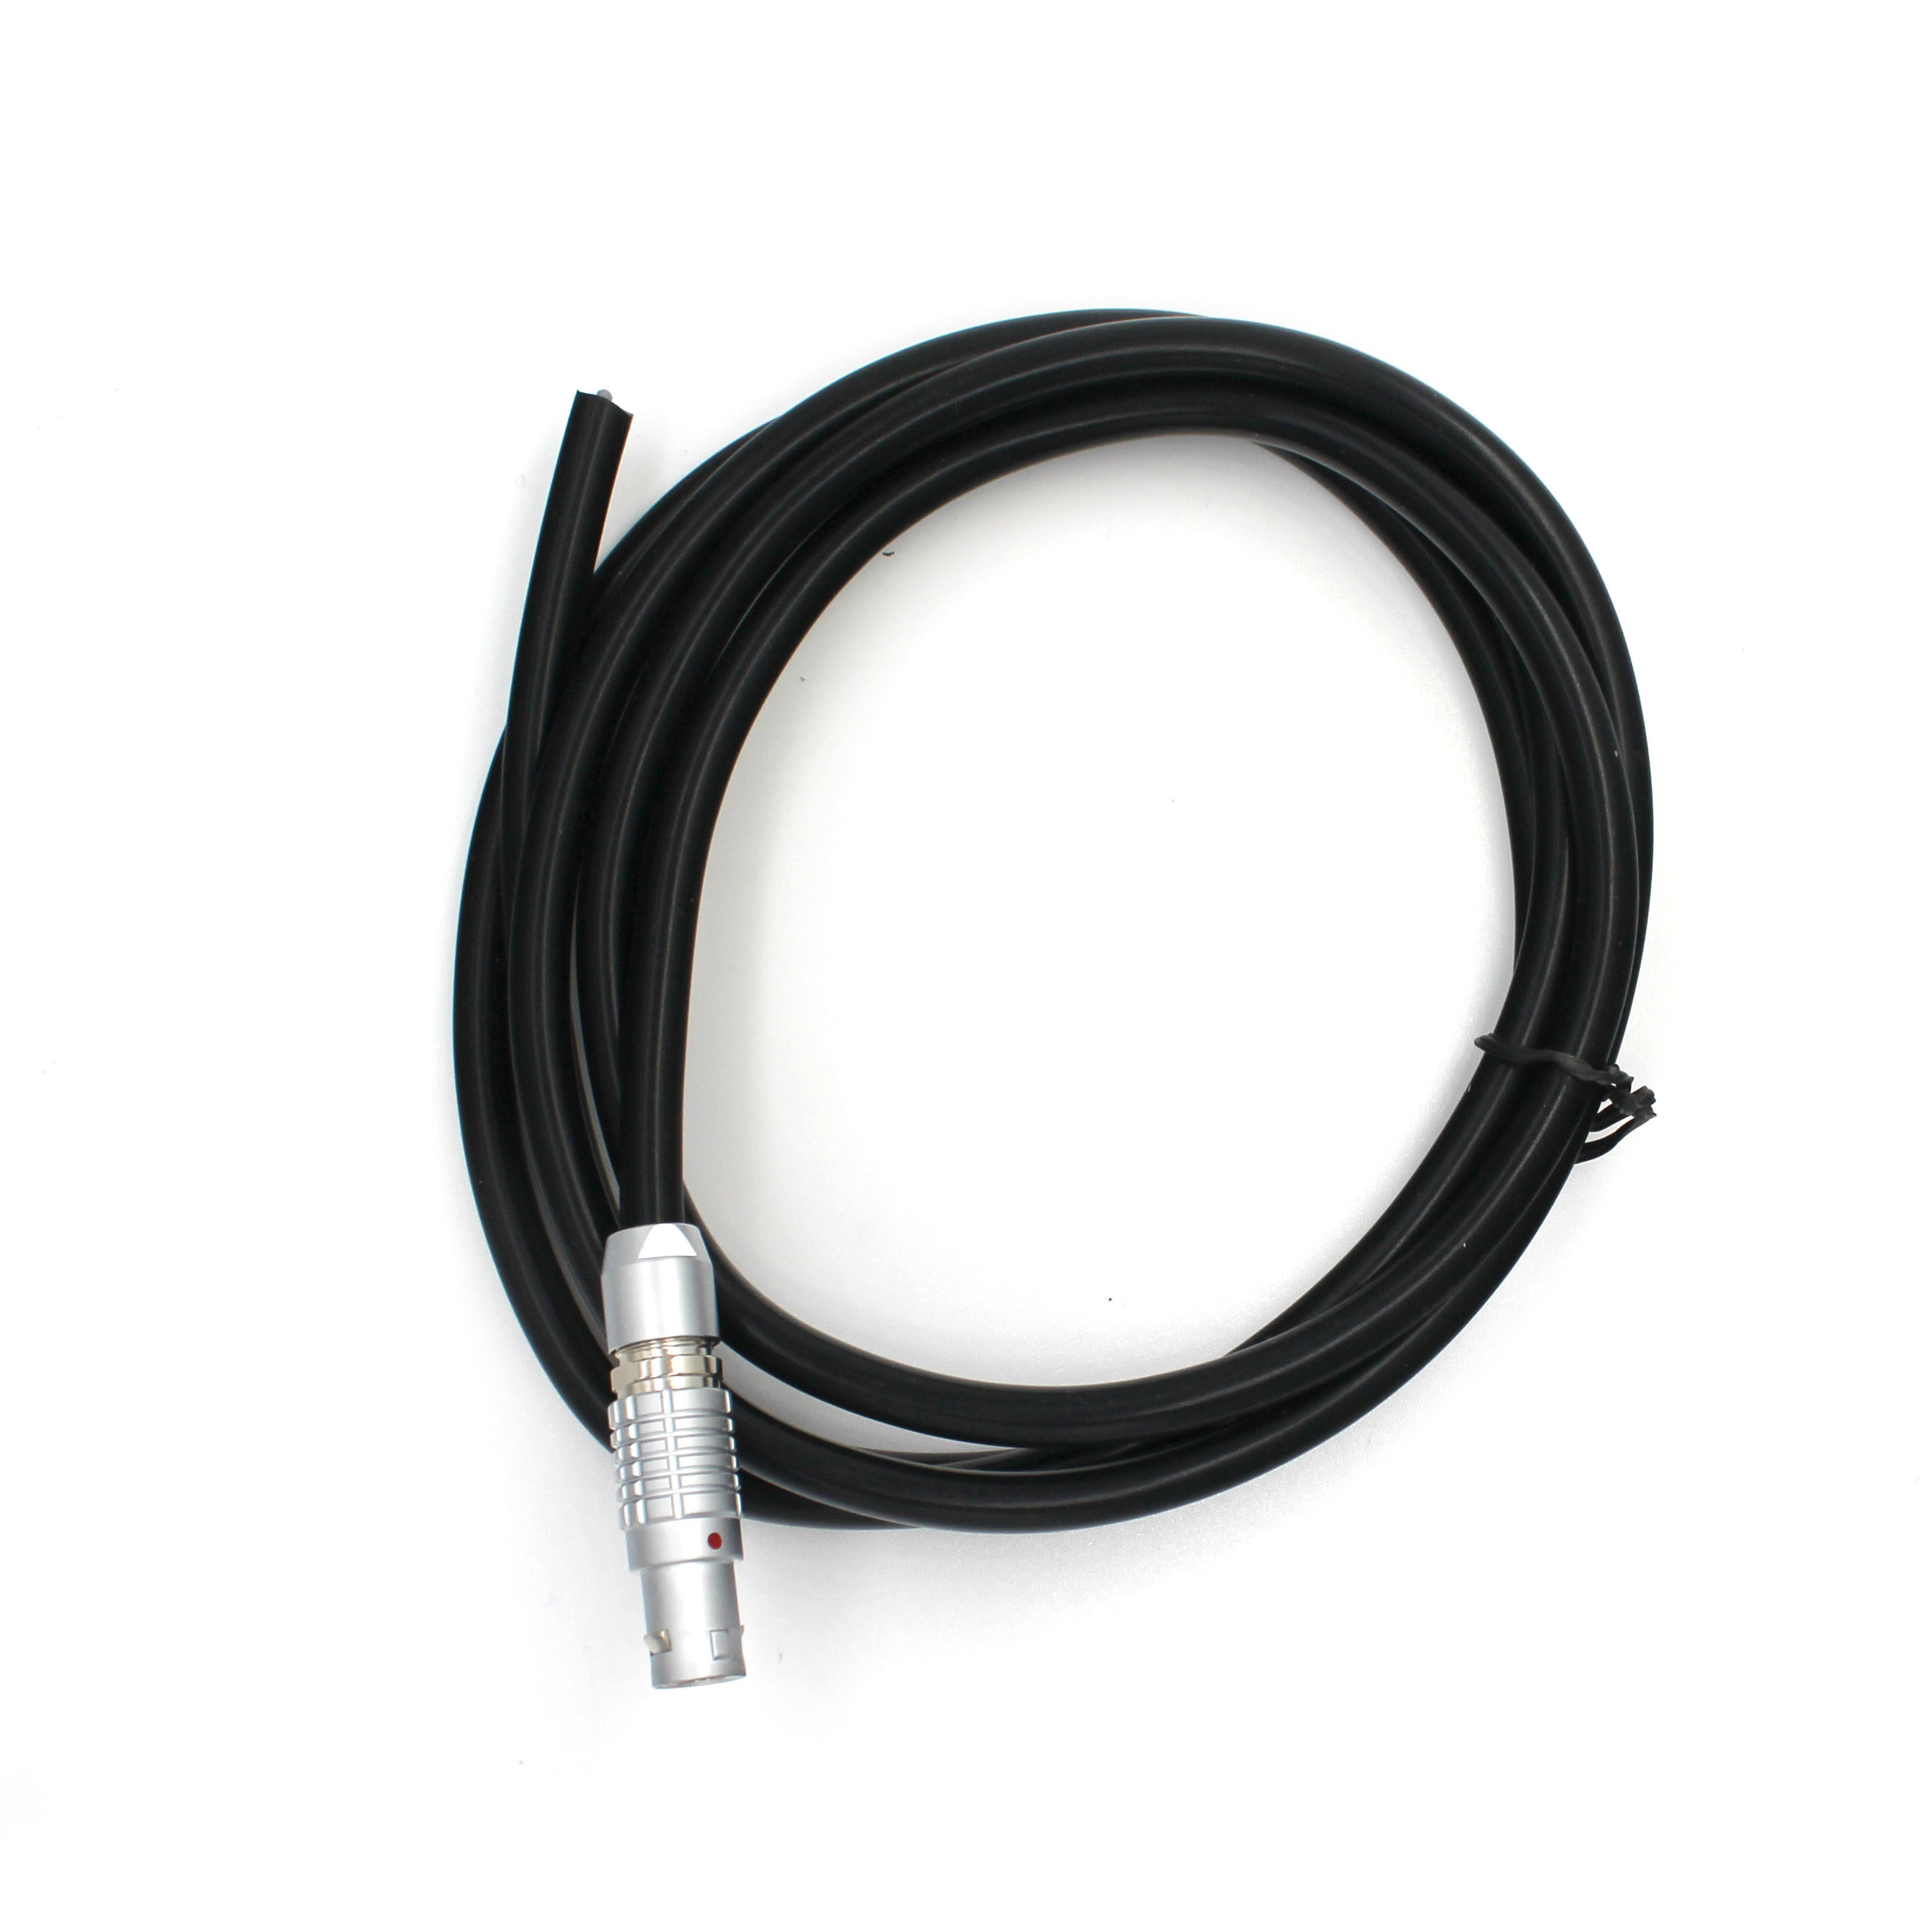
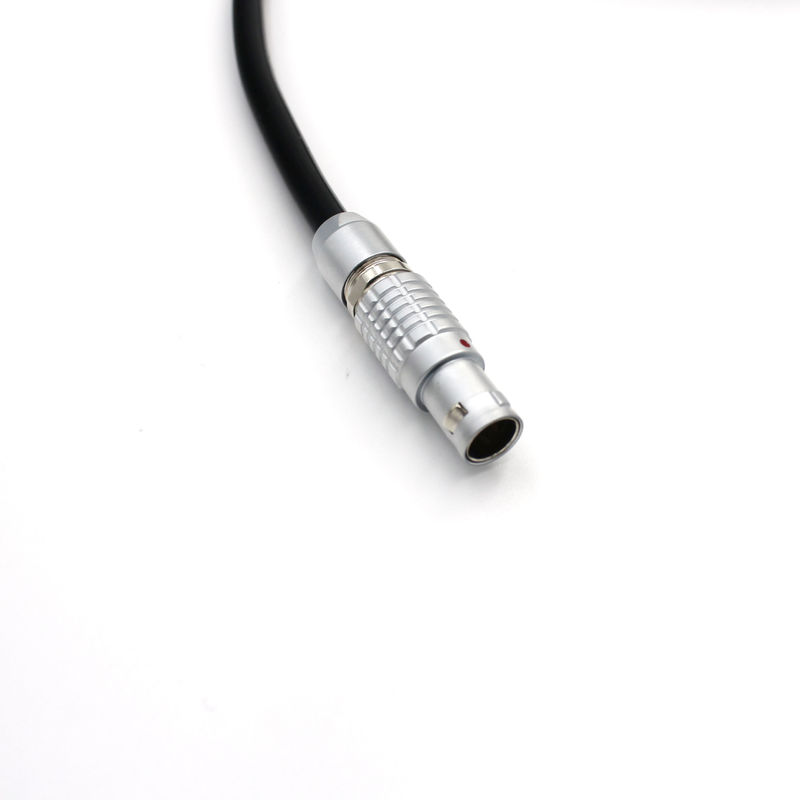
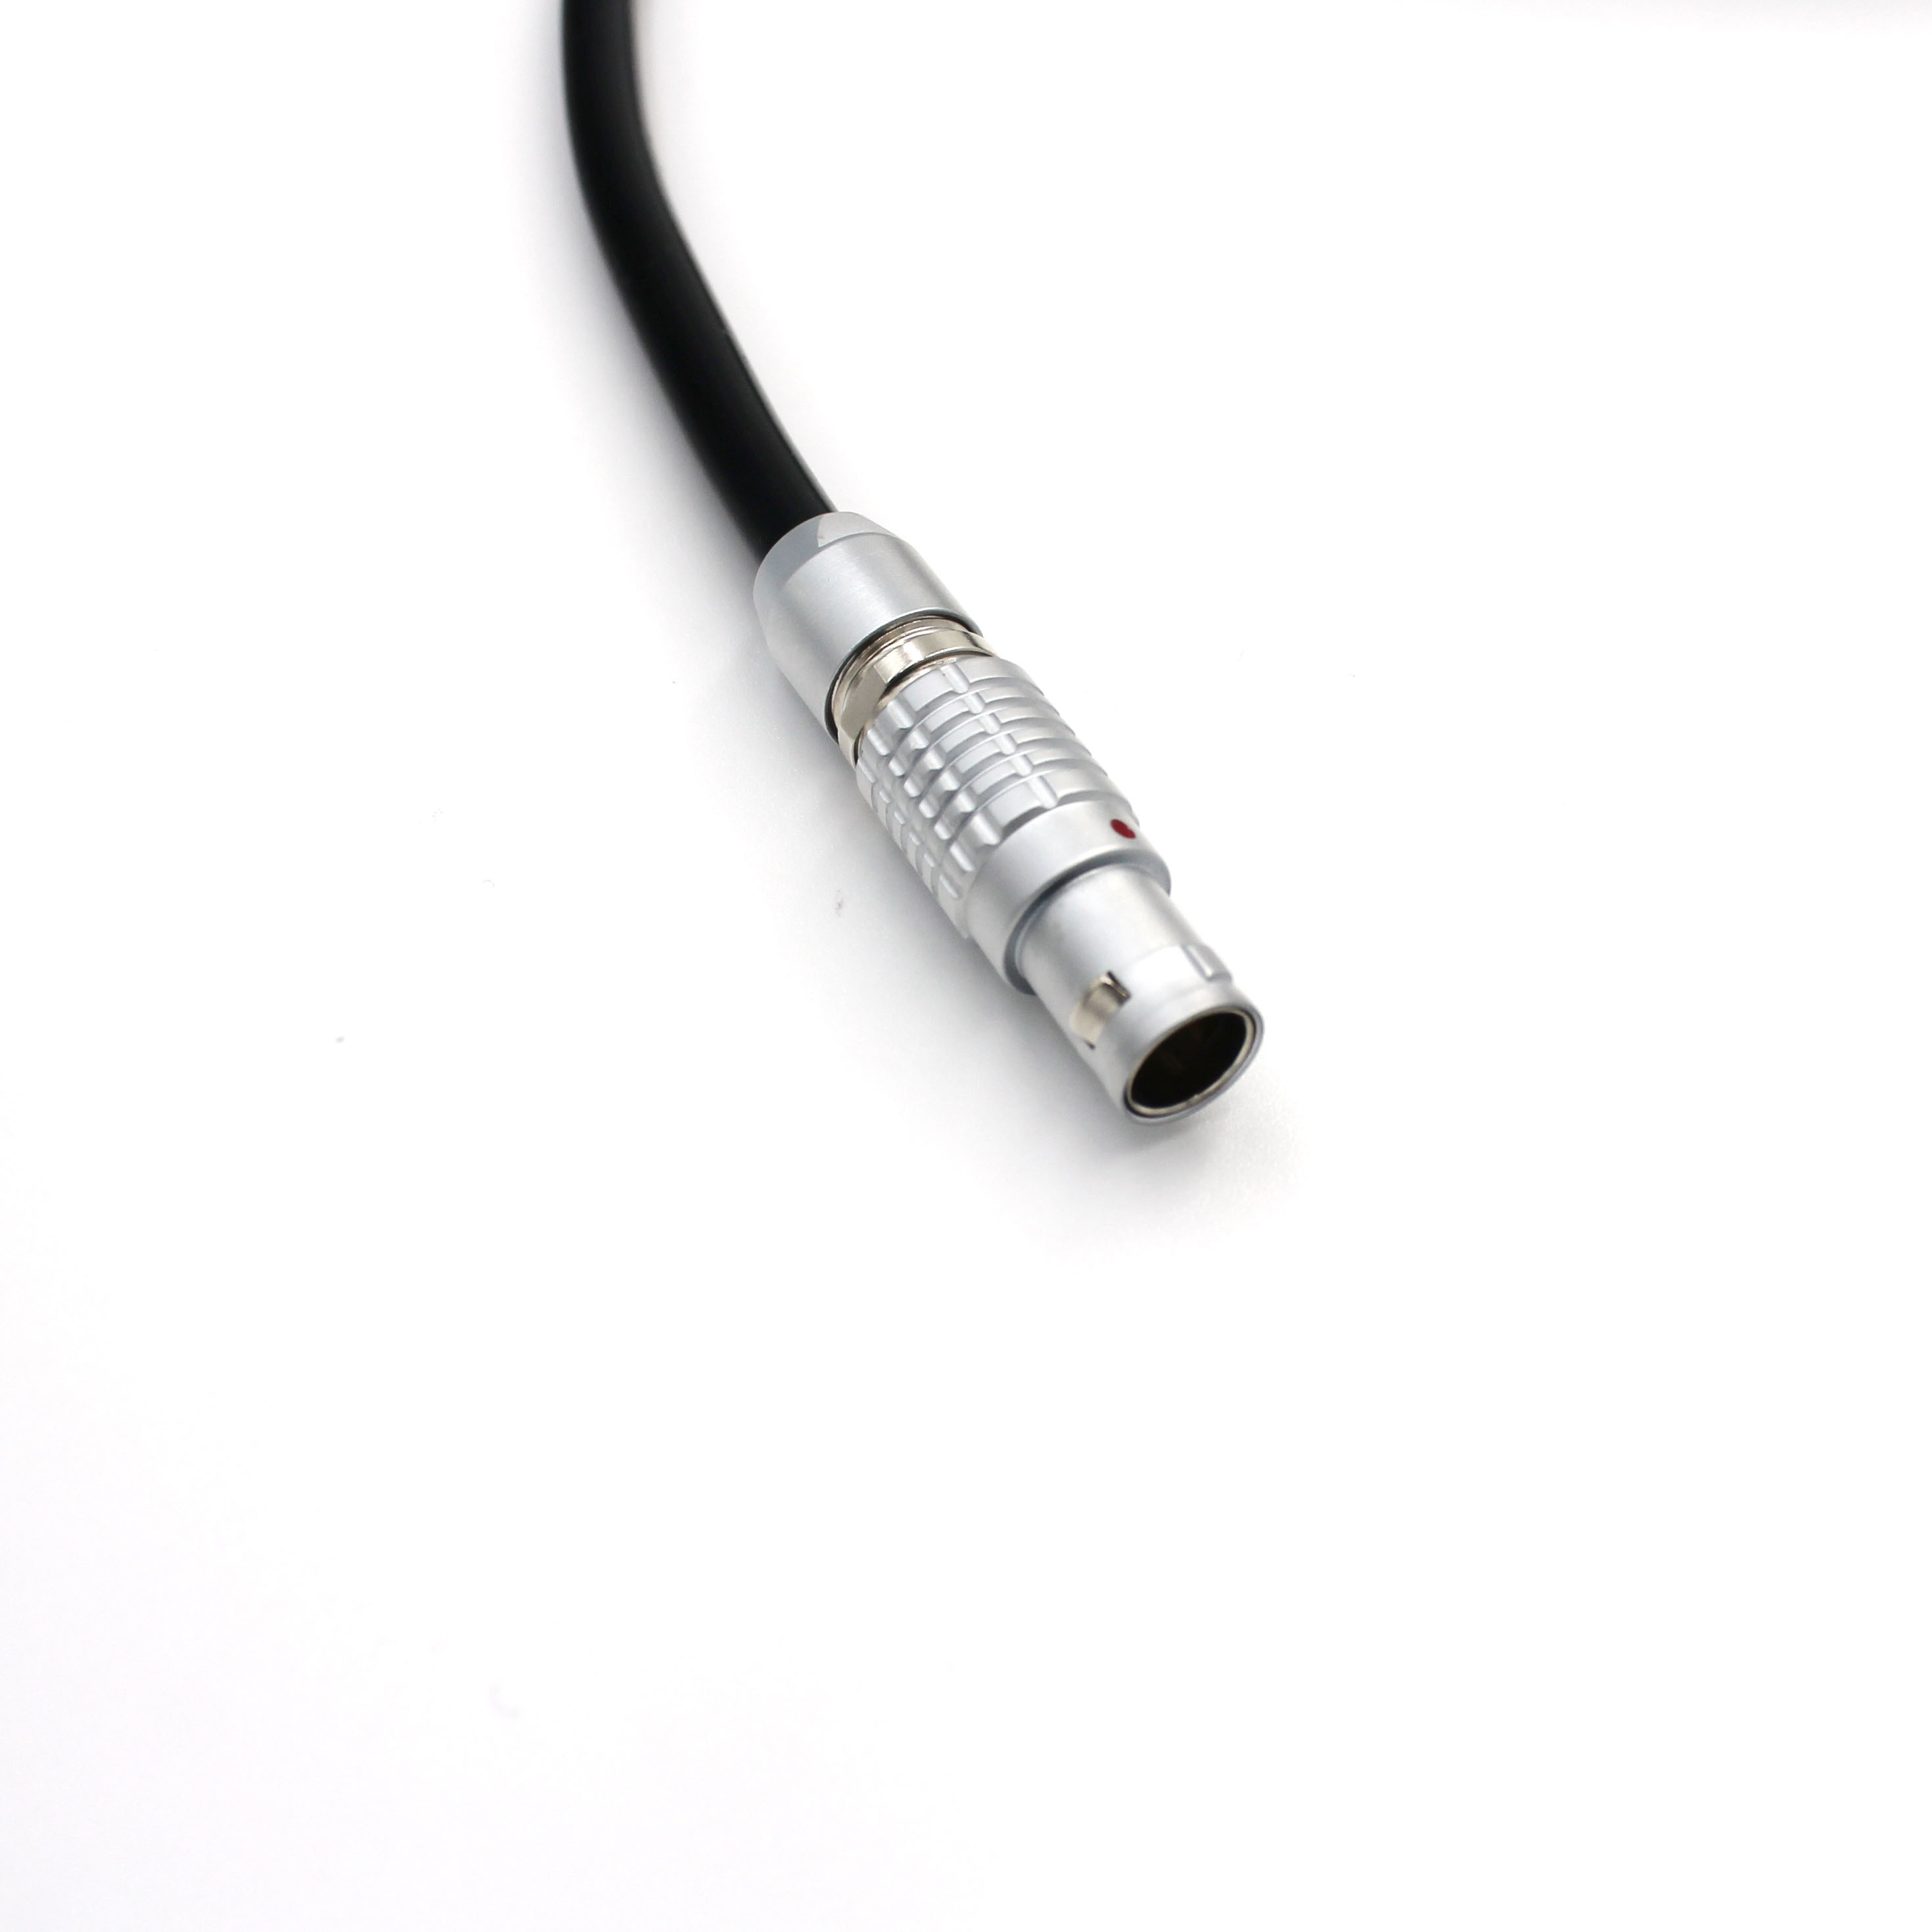
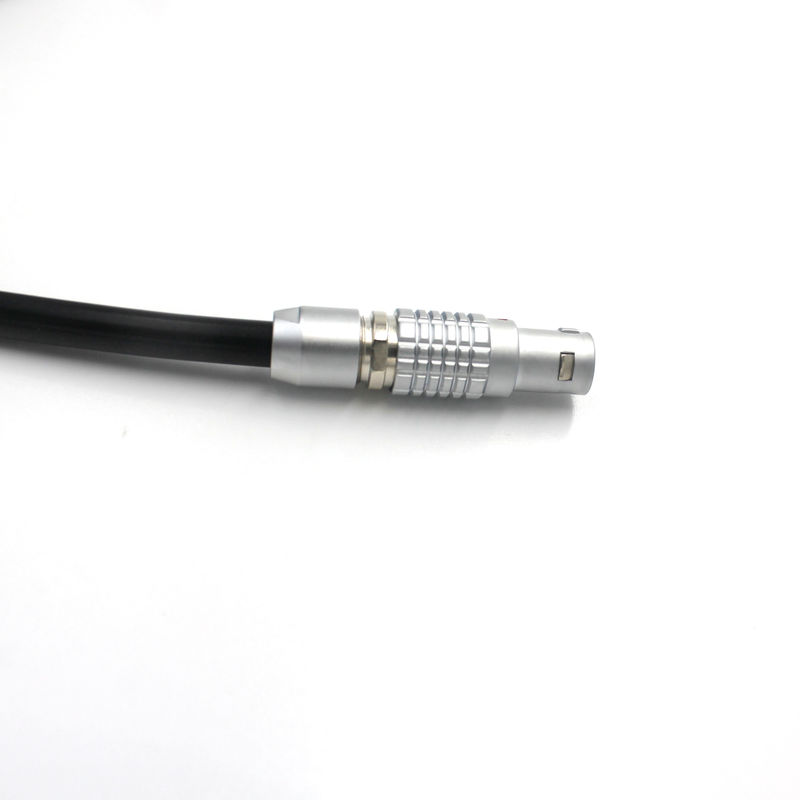
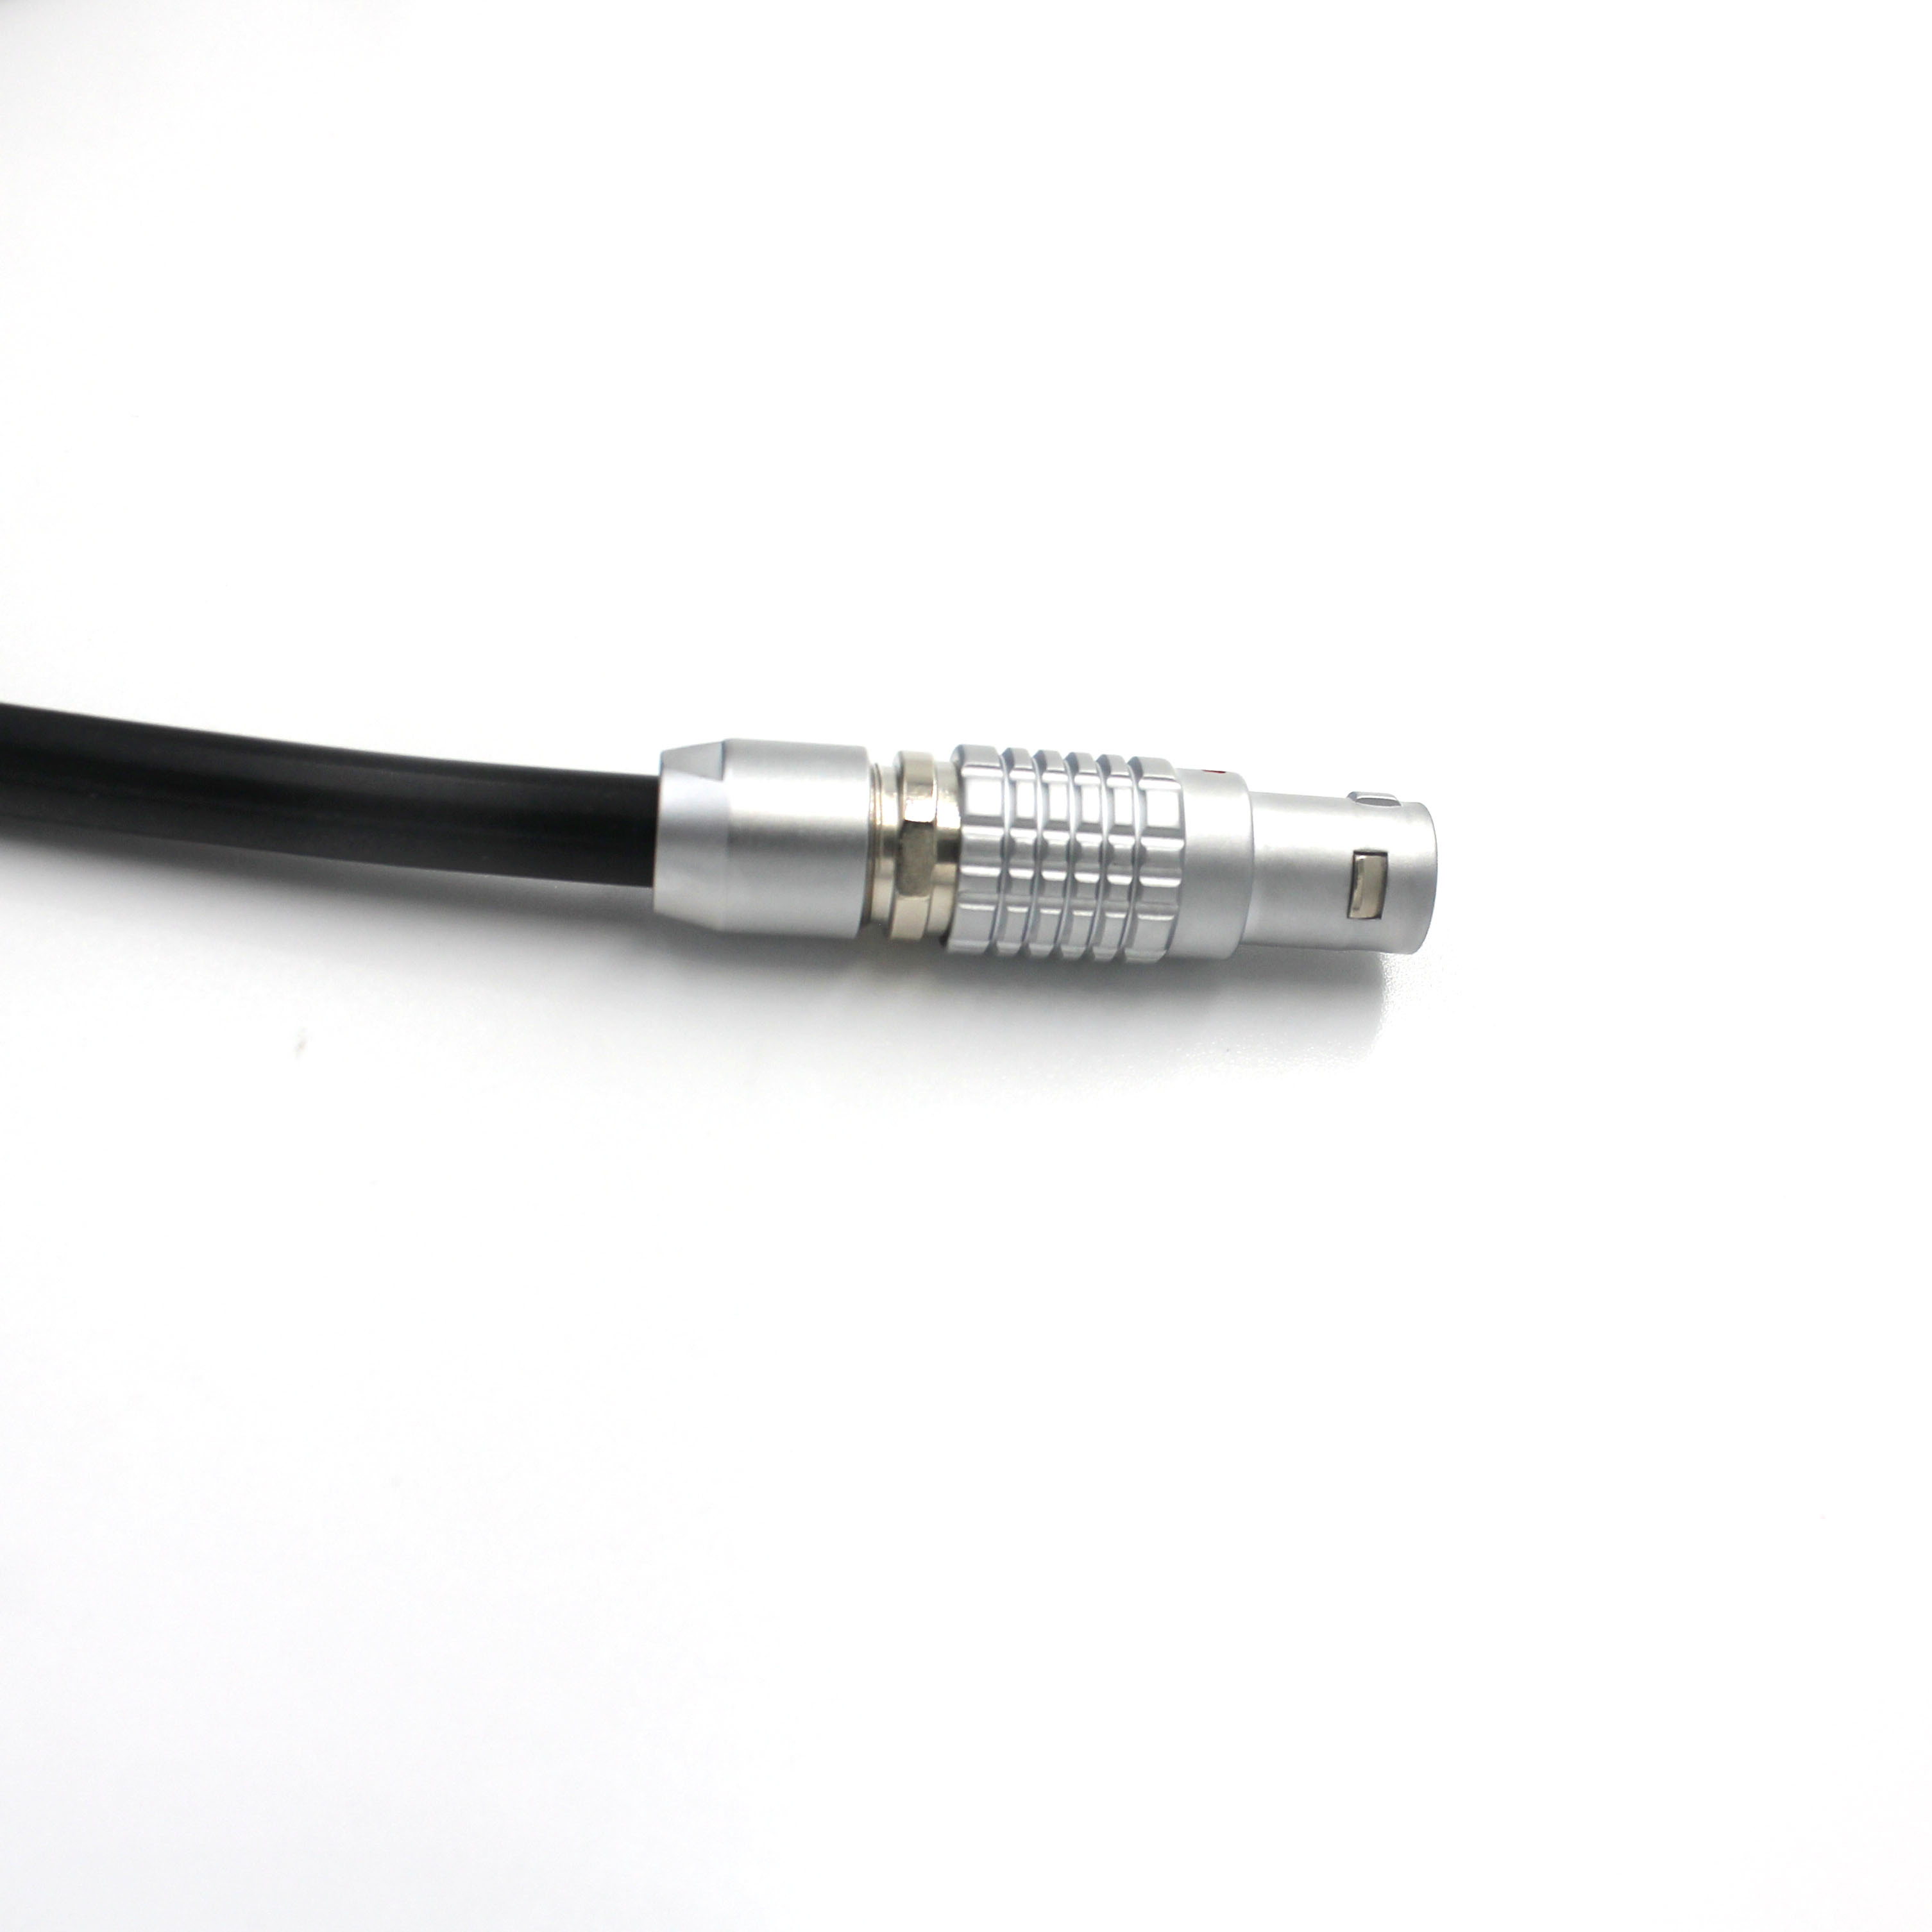
2 Pin Male Plug TGG 1B 302 Multi Pin Automotive Electrical Circular Cable Connector
Quick detail of TGG 1B 2 pin automotive electrical male plug:
1. Secure high performance push-pull self-locking system
2. High-density installation for space-saving
3. Alignment Key and Polarized Keying System to avoid cross-interface
4. 360-degree screening for full EMC protection
5. Functional in a wide temperature range from -45°C to +125°C
6. Available solder, PCB and right angle PCB contact
7. Multicore types with 2 to 32 pins
Specifications of TGG 1B 2 pin automotive electrical male plug:
| Endurance |
>5000 cycles |
| Rated current |
15A |
| Temperature |
-45℃~+125℃ |
| Test voltage(contact-contact) |
1.5kV rms |
| Test voltage(contact-shell) |
1.35kV rms |
| Salt spray corrosion test |
>48hrs |
| Protection level |
IP50 |
| Termination |
Solder |
| Fastening type |
Push-pull |
| Shell finish |
Chrome |
| Shell color |
Silver |
| Contact material |
Brass |
| Contact color |
Gold |
| Insert material |
PPS |

Applications of TGG 1B 2 pin automotive electrical male plug:
1. broadcast: studios and outside broadcasting, remote camera control
2. medical: diagnostic devices, therapy applications
3. transport: maritime, automotive, railways
4. defense&security: communication systems, surveillance equipment, target acquisition
5. energy: petrol&gas, nuclear, renewable energies, fuel cells
Cable assembly process :
1. Pass the cable through the sheath, the tail nut, and the cable clamp in turn, and weld it to the insulator assembly in accordance with the order.
2. Install the two-piece insulator clasp onto the welded insulator assembly, noting that the window on the clasp corresponds to the protrusion on the insulator assembly.
3. Install the cable clamp to the appropriate position of the cable, noting that the protrusions on the cable clamp correspond to the grooves on the insulator clasp.
4. Push the insulator assembly, insulator clasp and cable clamp into the plug assembly in turn, paying attention to the protrusion on the insulator clasp ring and the gap in the plug assembly.
5. Tighten the tail nut to the plug assembly.
6. Put the jacket on the corresponding step of the tail nut.

 Your message must be between 20-3,000 characters!
 Please check your E-mail!
  Your message must be between 20-3,000 characters!
 Please check your E-mail!

