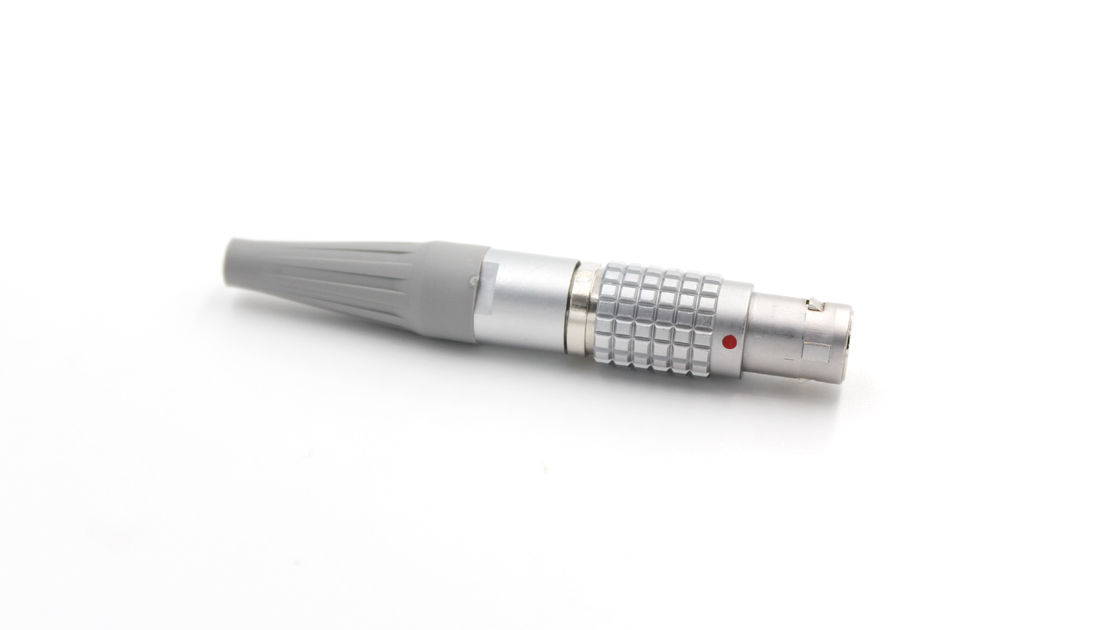
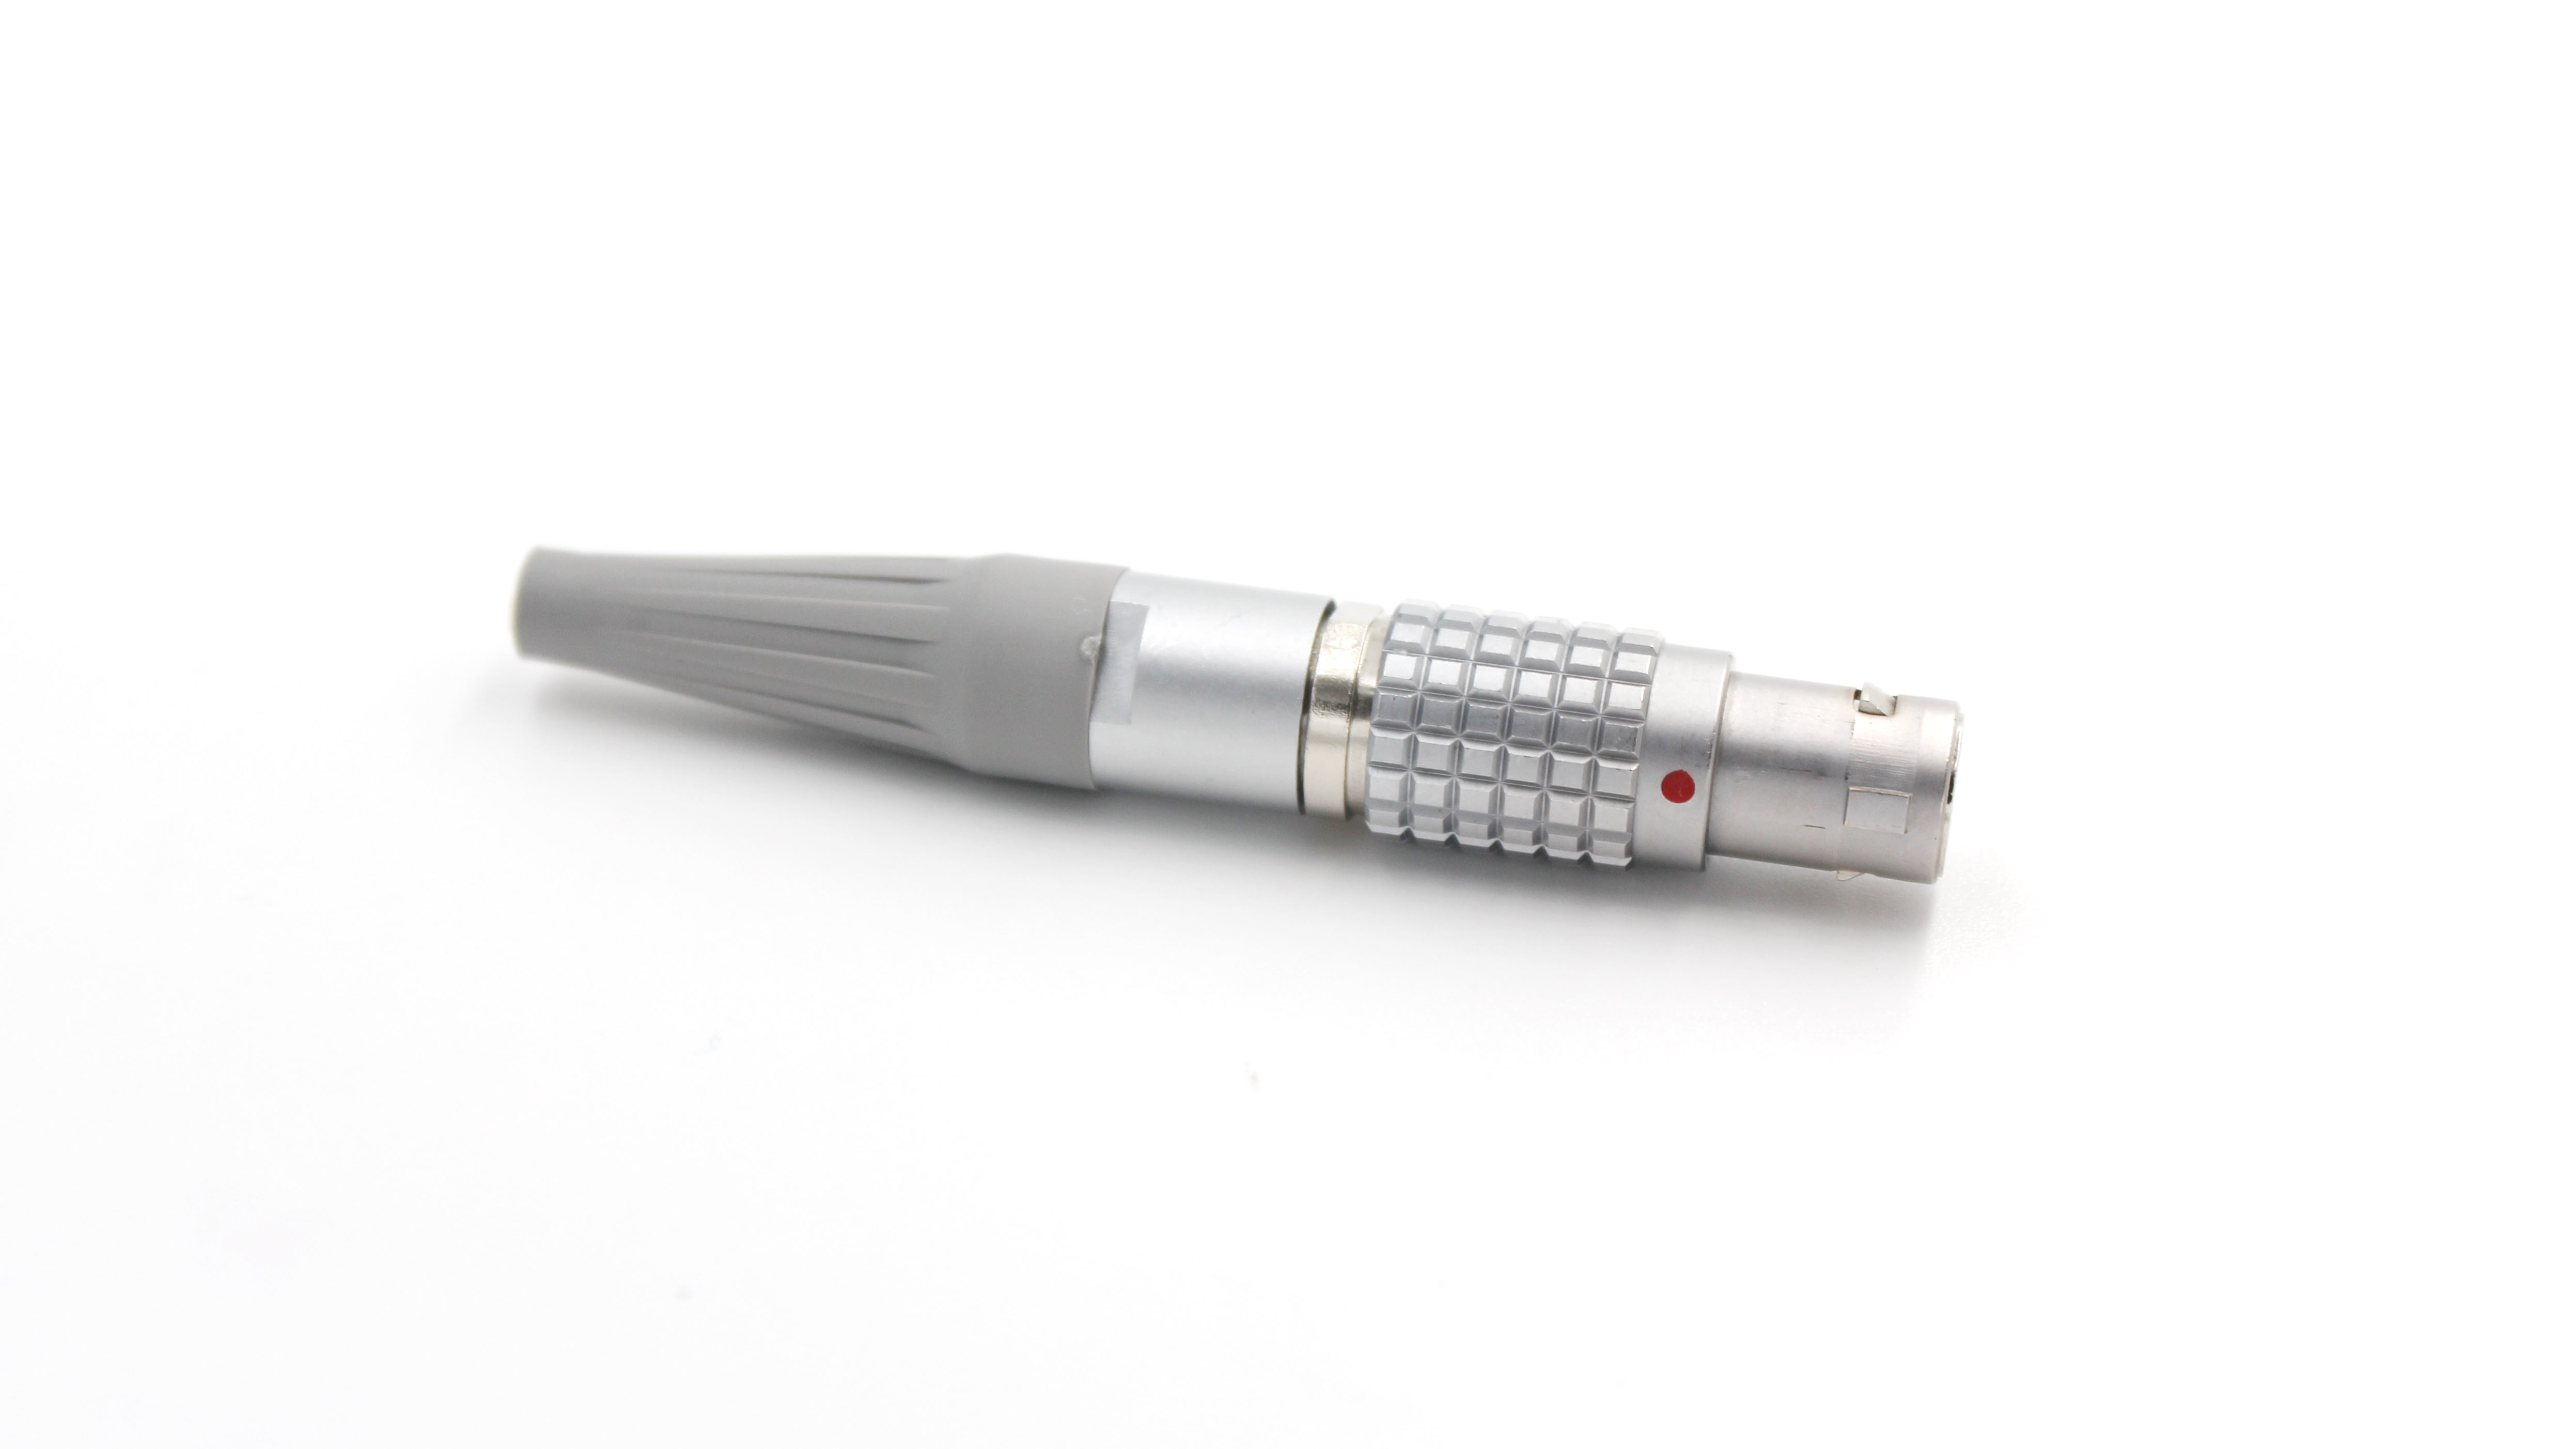
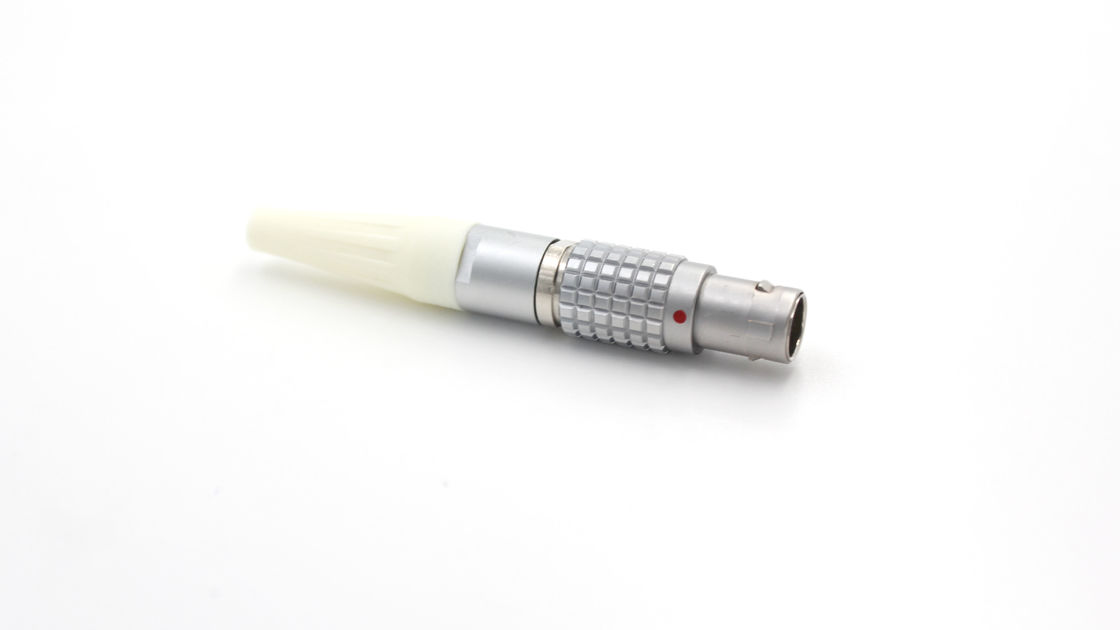
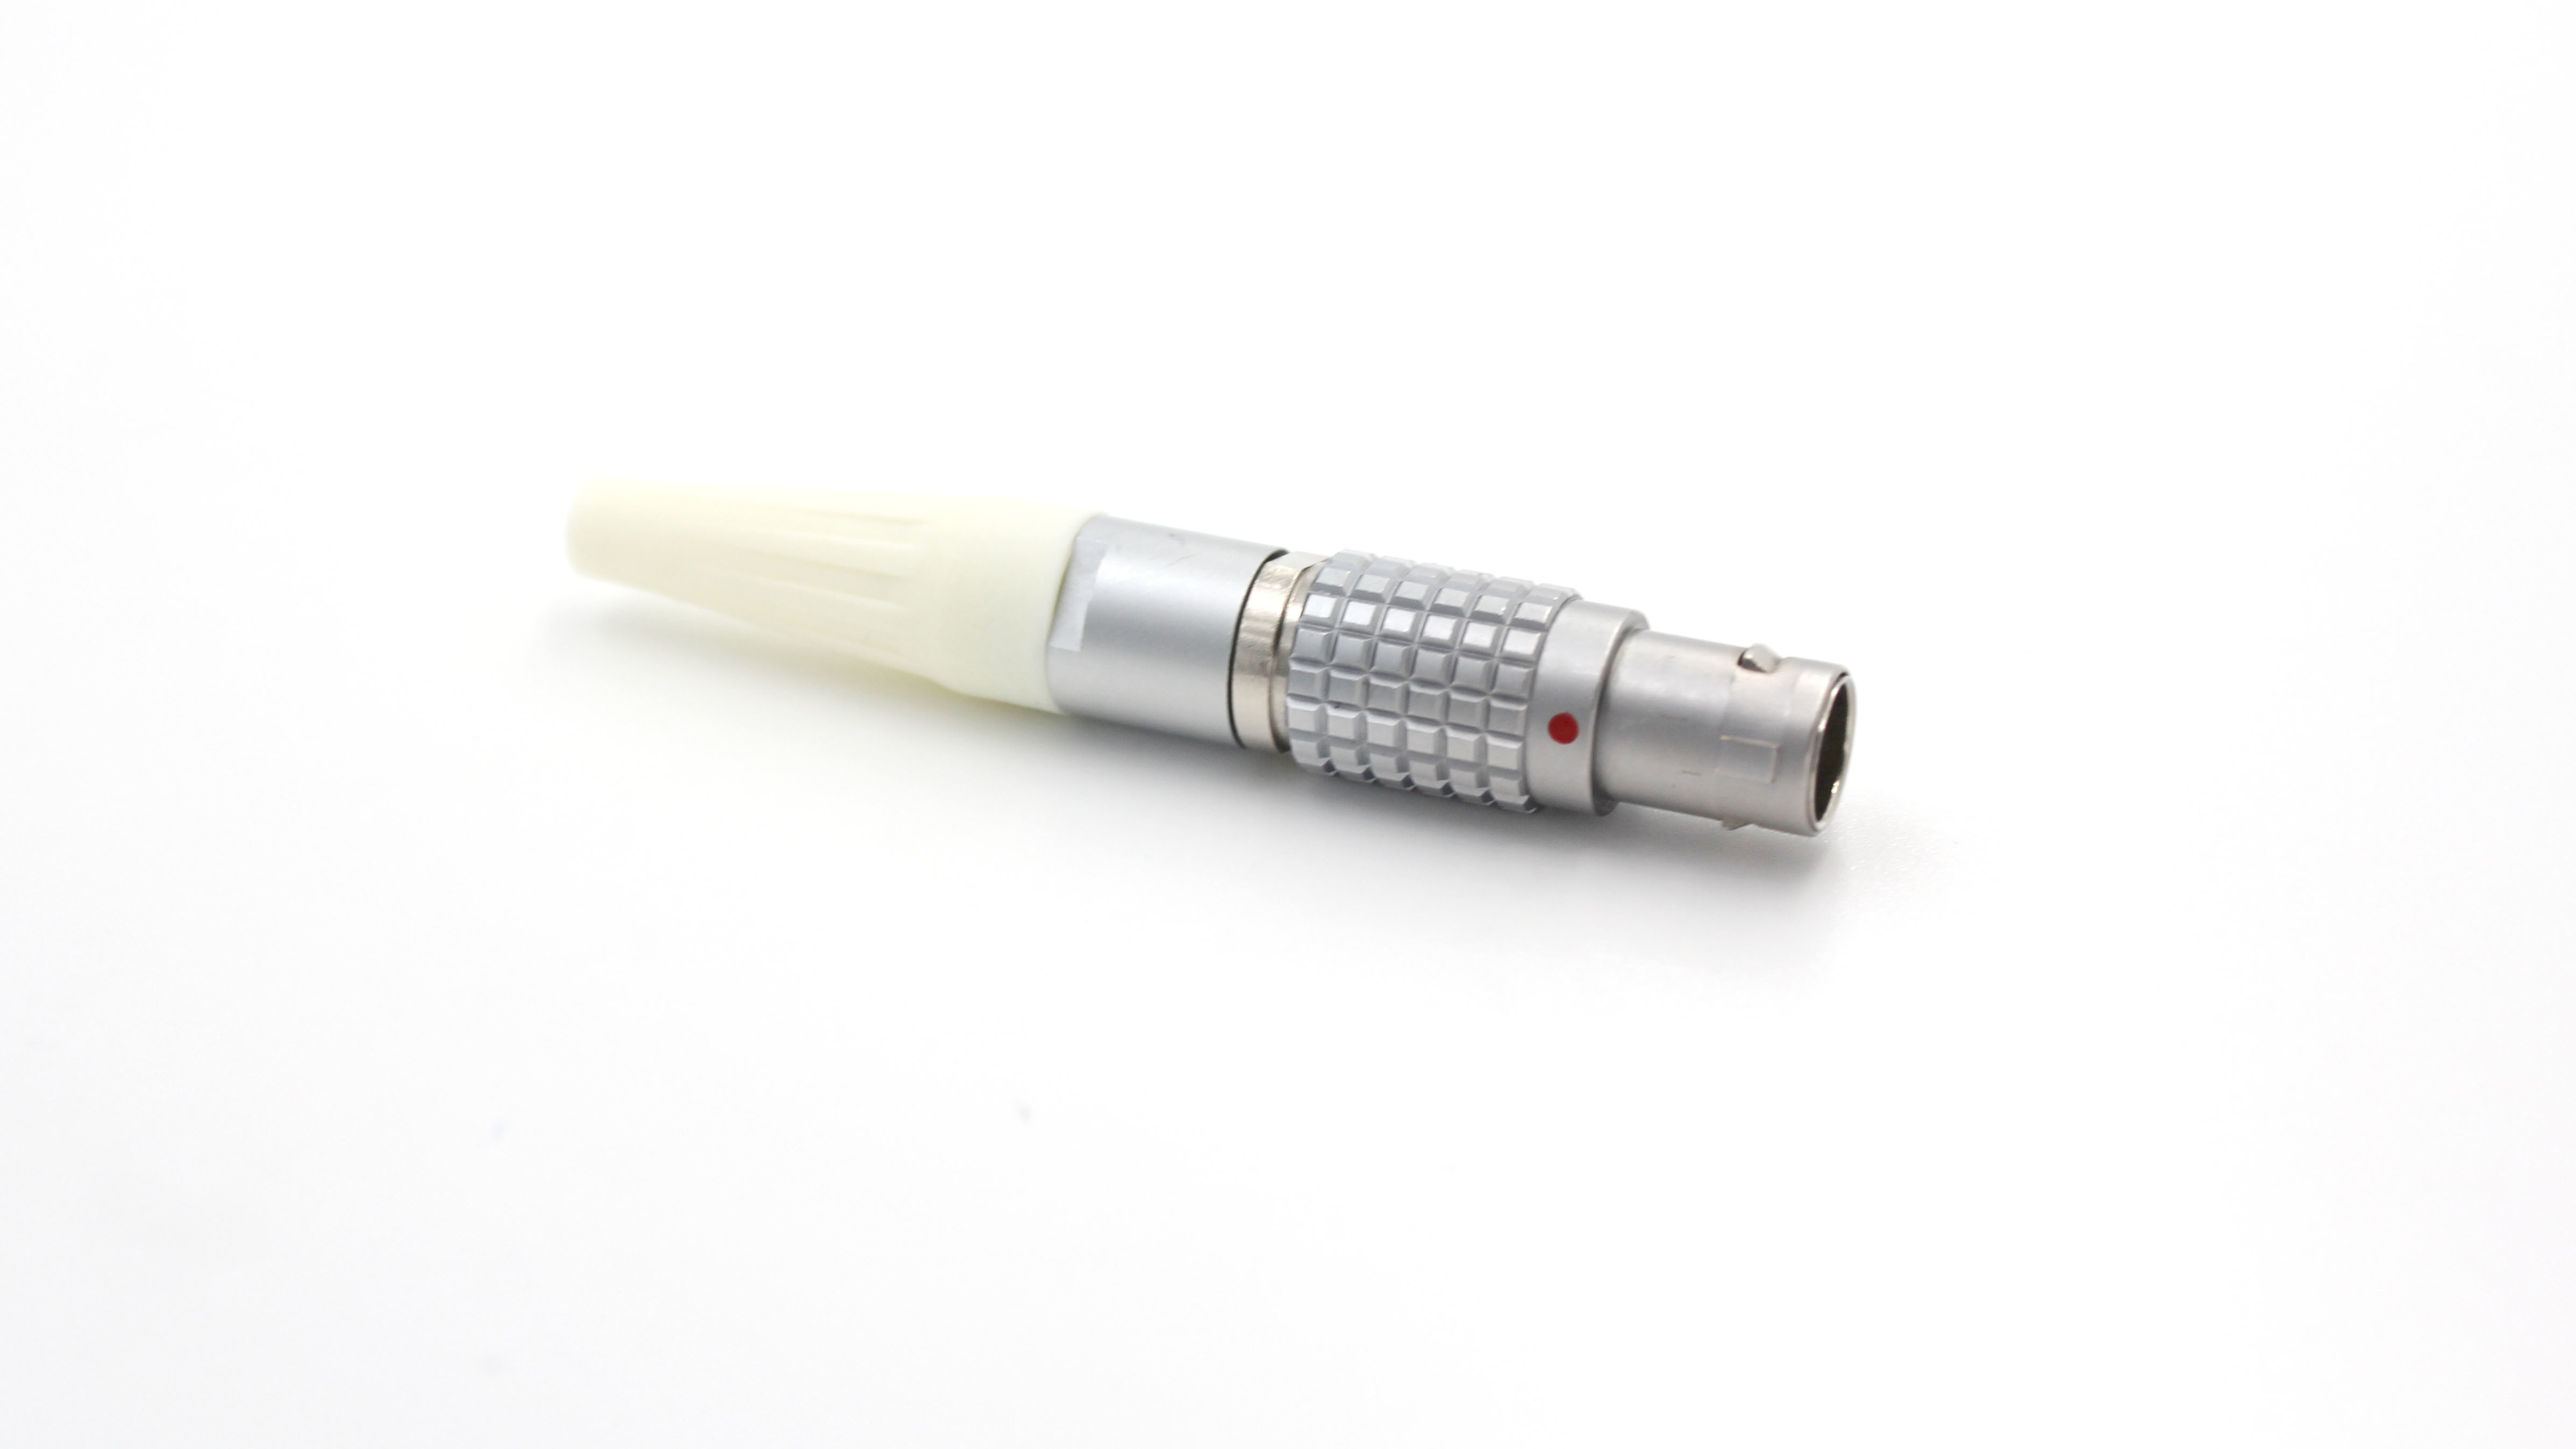
1B TGG 7 pin circular cable plug corlorfull sleeve push pull connectors
Specifications of TGG.1B.307 circular cable plug:
1. Endurance: >5000 cycles
2. Humidity: Maximum humidity up to 95% at a temperature of 60℃
3. Temperature: -45℃~+125℃
4. Vibration: 10~20000HZ,15g
5. Mechanical shock: 100g.6ms
6. Salt spray corrosion test >48hrs
7. Protection level: IP50
8. Termination: Solder
9. Shell finish: Chrome
10. Shell color: Silver
11. Contact material: Brass
12. Contact color: Gold
13. Insert material: PPS
Features of TGG.1B.307 circular cable plug:
1. Security of the push-pull self-latching system
2. Multicore types with 2 to 32 pins
3. 1 year warranty time
4. Solder or PCB contacts(straight or elbow)
5. Applications: Test and measurement equipment, Sensors and actuators, Audio / video
6. 360-degree screening for full EMC protection
Why choose us:
We have independent research and development, connector whole process manufacturing, quality and efficient service.
SHENZHEN SREADA TECHNOLOGY CO., LTD.,major in the connector, who have wide range of products, such as Circular Push Pull Connectors, Push Pull Electrical Connectors, Push Pull Cable Connectors, Panel Mount Socket, Medical Cable Connectors, Custom Electrical Connectors and so on.
We can supply cable assembly service according to your requirements. If you meet any question or problem in your connector’s or cable’s working, our technical department will supply professional support to help you solve them.
Cable assembly process :
1. Pass the cable through the sheath, the tail nut, and the cable clamp in turn, and weld it to the insulator assembly in accordance with the order.
2. Install the two-piece insulator clasp onto the welded insulator assembly, noting that the window on the clasp corresponds to the protrusion on the insulator assembly.
3. Install the cable clamp to the appropriate position of the cable, noting that the protrusions on the cable clamp correspond to the grooves on the insulator clasp.
4. Push the insulator assembly, insulator clasp and cable clamp into the plug assembly in turn, paying attention to the protrusion on the insulator clasp ring and the gap in the plug assembly.
5. Tighten the tail nut to the plug assembly.
6. Put the jacket on the corresponding step of the tail nut.

 Your message must be between 20-3,000 characters!
 Please check your E-mail!
  Your message must be between 20-3,000 characters!
 Please check your E-mail!

